A few people have recently asked for advice in building their own desktop PC, so I thought I'd throw together a quick introduction to the main pieces of hardware you'll need to get yourself up and running.
You can find my current setup at PC Part Picker.
Useful Resources
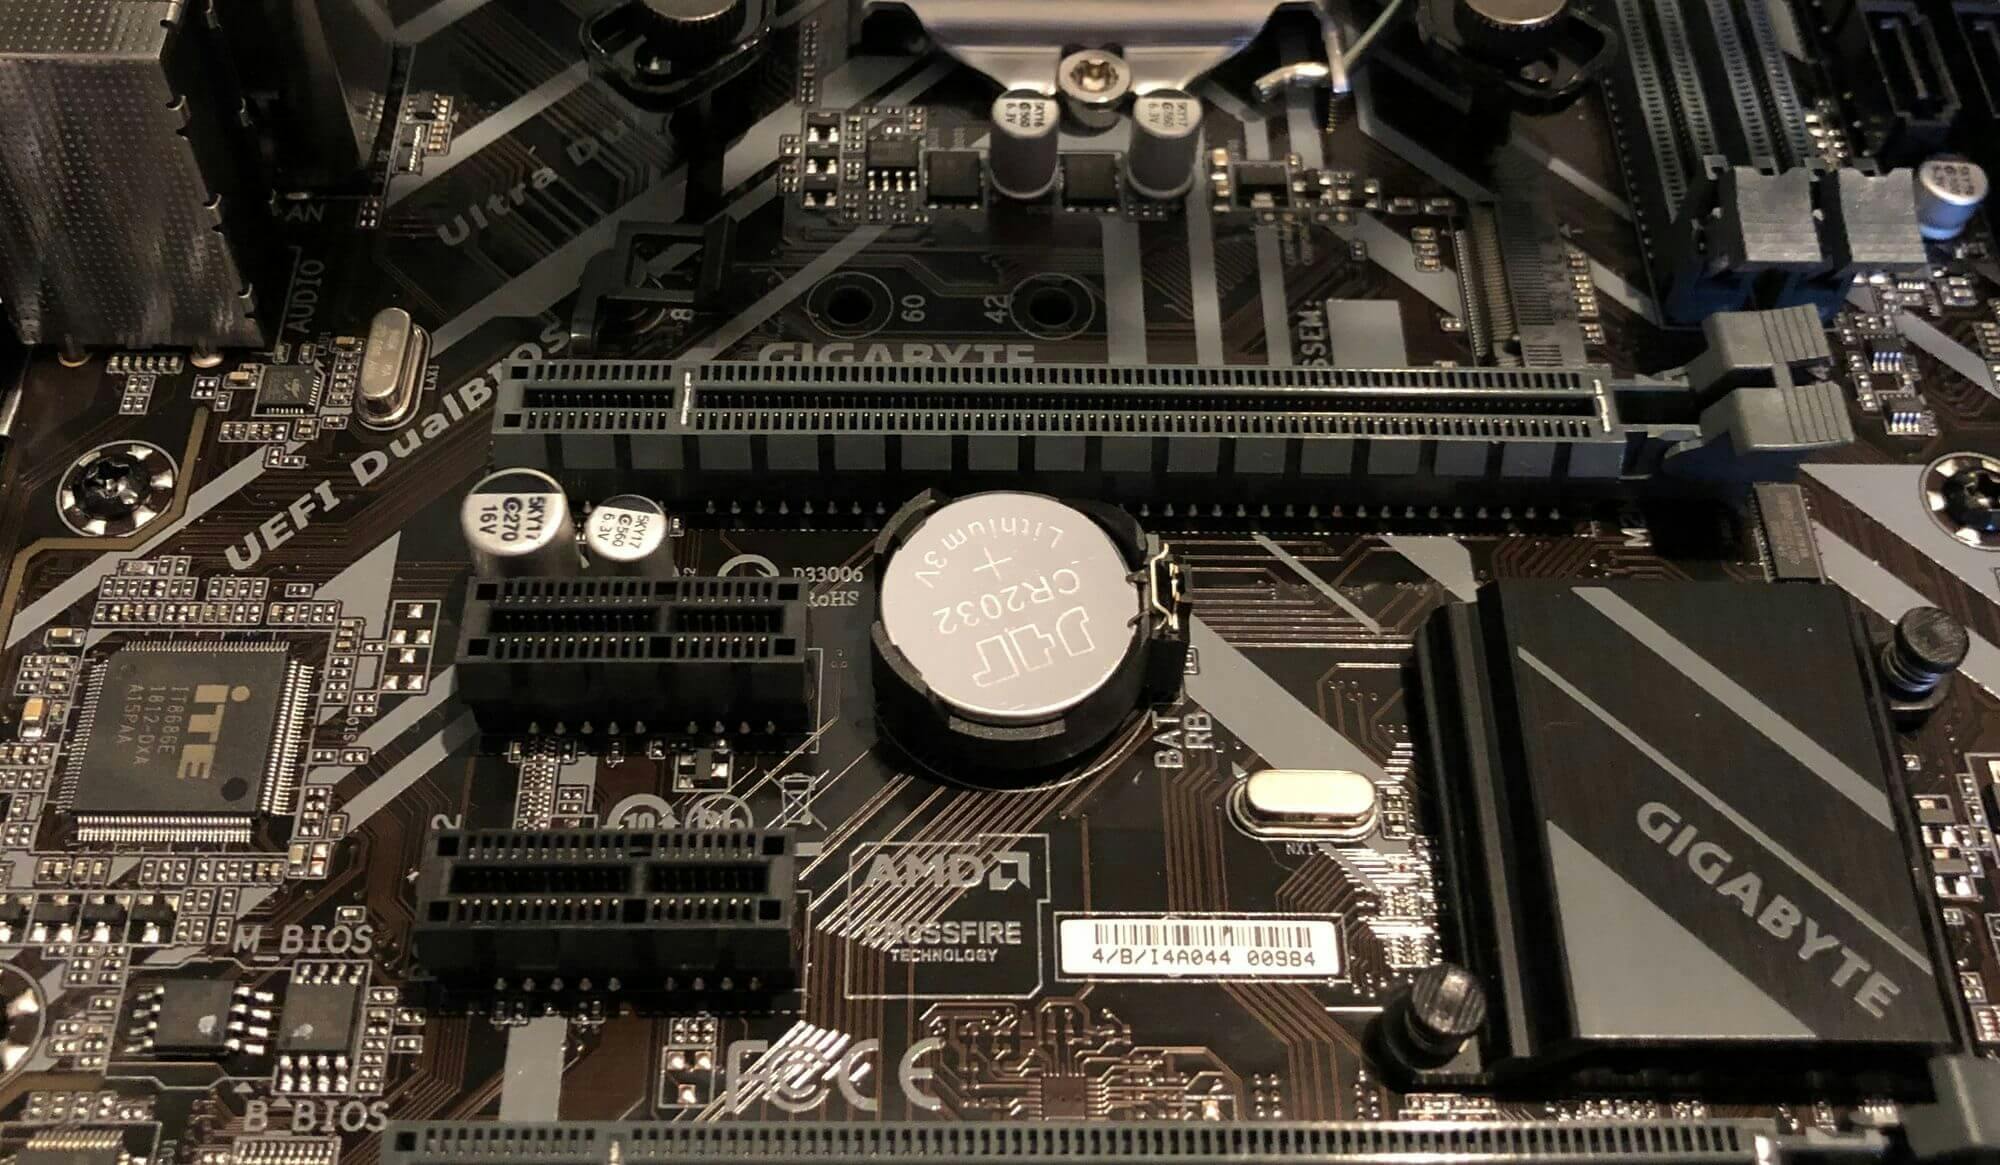
MOBO
It's essential that your motherboard is compatible with your case and other components. PCPartPicker's System Builder will automatically do this for you and filter out any incompatible parts.
For a starter rig, try to buy a motherboard with four RAM slots. This allows you to purchase two sticks to get you started, with the option to add another two sticks further down the line. This is usually cheaper than two slots and upgrading the sticks.
The motherboard's form factor denotes the size of the board. You want to match the form factor to your case type. As a general rule of thumb, expensive things come in small packages. It’s worth noting that you can put smaller boards (e.g. micro-ATX) into larger cases (ATX), just be sure to check the board size is included in the case’s motherboard form factor.
CPU
AMD is traditionally known as having the best bang for buck. It fell behind NVIDIA in recent years, but it’s made a real comeback with low/mid tier machines (it was also less affected by the Meltdown / Spectre fiascos).
Some chips can have their performance enhanced by overclocking the base clock speed (it’s simpler than it sounds). Note that doing so will also require you to purchase an aftermarket cooling system, otherwise the CPU will cook. For a first-time build I'd recommend a factory-overclocked CPU and save yourself the hassle.
GPU
Try to select a GPU that complements your monitor. If your monitor is 4k, then you're going to want a GPU that is capable of outputting native 4k resolution. A GPU rendering 1080p to a native 1080 monitor looks better than downscaling a 4k monitor to 1080p. If this ends up happening, try to adjust the resolution on the monitor itself to match your game’s video settings, otherwise the screen will appear pixelated and/or blurry.
At the time of writing, 4k gaming is still pretty expensive. I’d advise downscaling to 1080p for a budget build, and 1440p if you want to spend a little more. If you mainly play competitive games, a 144Hz 1080p build could be more favourable than running a 60Hz monitor at 1440p. Work out what you need from your PC, and then pick a GPU that meets the criteria.
Ignore anything about running two GPUs (known as SLI / Crossfire). It’s just not worth the effort (imo).
Enjoying the article?
Support the contentRAM
Not much to talk about here, other than running dual channel will almost always yield better results over single (i.e. using 2 x 8GB sticks rather than 1 x 16GB). As mentioned above I’d suggest buying a motherboard with 4 RAM slots and two sticks then upgrading to four at a later date. Don’t mix and match the sticks, i.e. try to use the same brand and frequency across the board.
SSD
A single SSD is a solid (pun intended) starting point. It’s helpful to know that your case will likely have multiple drive bays, so you can always add more if you’re struggling for space. Games take up a surprising amount of space, and, y’know,
To be cost-efficient you could buy a small SSD exclusively for the operating system and a large hard disk drive (HDD) for storage. I’ve used this approach a couple of times, but generally find it to be more hassle than it’s worth.
PSU
It’s tempting to cheap out here, but make sure your power supply has a branded 80+ Gold energy efficiency rating. AC power from the mains needs converted to DC, but some of that power is lost to heat in the transfer. The 80+ ensures that at least 80% is converted whilst under 100% load. When creating a build PCPartPicker will calculate the total wattage required to run your machine, which makes it easier to choose the correct wattage for your power supply.
In terms of cabling, you have the choice of modular, semi-modular, and non-modular. Non-modular comes with a bunch of cables permanently connected to the supply that you might not need to use. Semi- has the essential cables connected with the option to add more, and modular has no connected cables and allows you to connect exactly what you need. As with everything, beauty comes at a price: non-modular is cheap and ugly (if you have a Perspex case you’ll see a clutter of unused wires), full modular is sleek and expensive, semi is half-way happy. Pick your poison.
Case
More important than people give it credit for. You want two things from a case: good airflow and cable management. A large 140mm intake fan on the front of the case and a smaller 120mm exhaust fan on the rear to expel hot air is a standard airflow and usually enough for most starter builds. Better cable management means better airflow (and aesthetics), so it's worth putting in the time.
